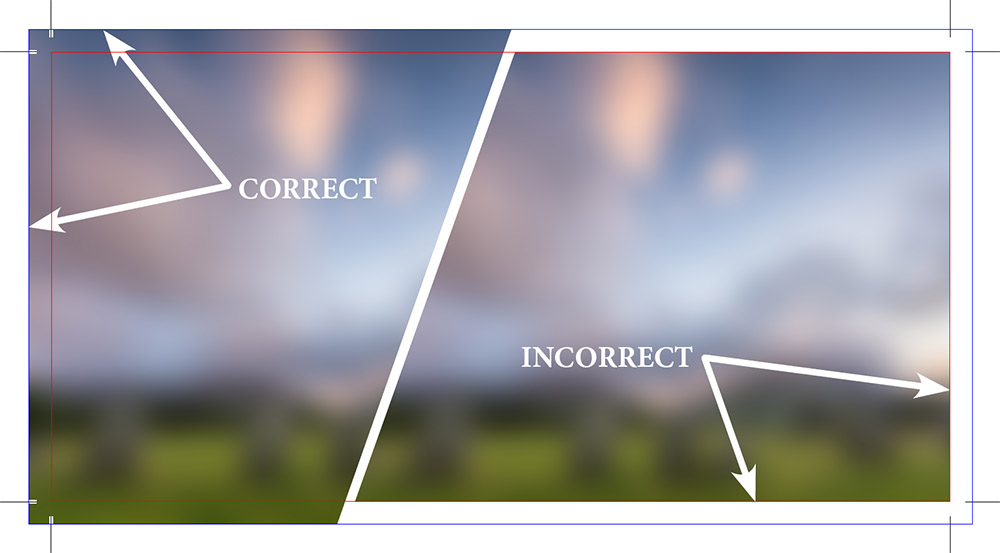
Here is an image that illustrates how bleeds should (and should not) appear in your final PDF:
(In order to make the bleed and trim boxes visible in Acrobat like in the image below: "Edit", "Preferences...", "Page Display", check "Show art, trim & bleed boxes")
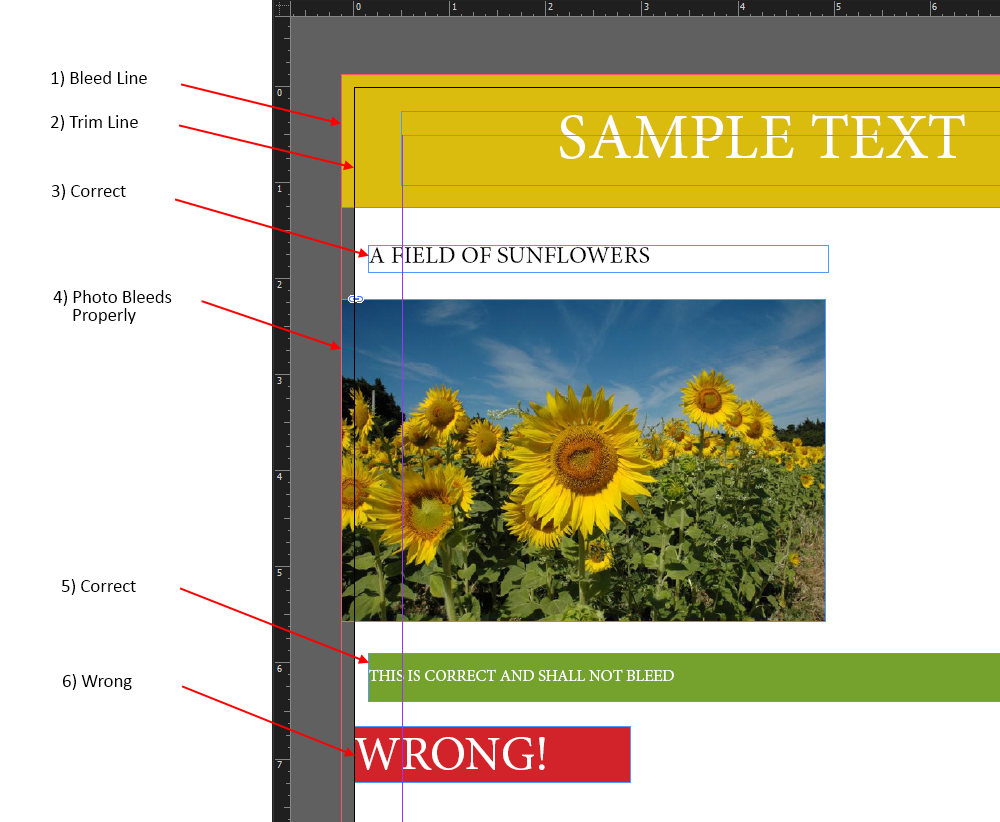
Now that you can see an example of how bleeds should look in your final document, here are the steps to set up bleeds using Adobe Illustrator:
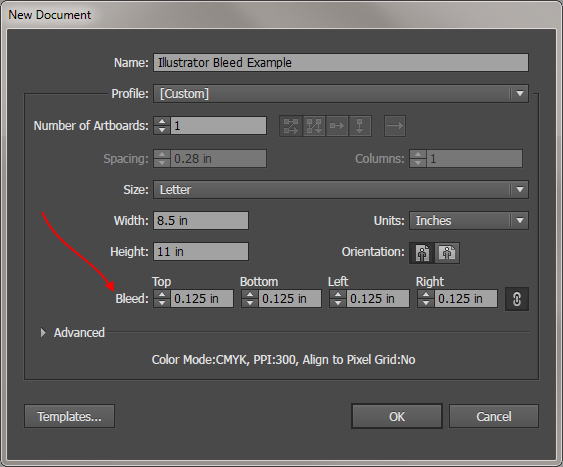
Step 1A)
If you are creating a new document (File, New...), adjust the Bleed (as indicated by the red arrow in the illustration
below). Set the four values for Bleed to 0.125 in (1/8th of an inch). If you are modifying an existing document, see Step 1B) below.
Set the Width and Height to the desired finished size of your piece.
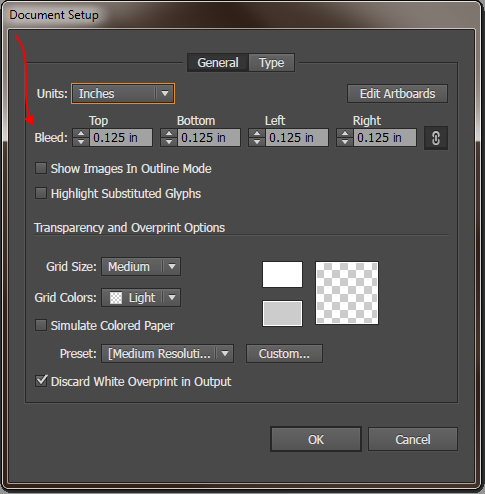
Step 1B)
If you have an existing document, click File, Document Setup... Then set the four values for Bleed to 0.125 in (1/8th of an inch).
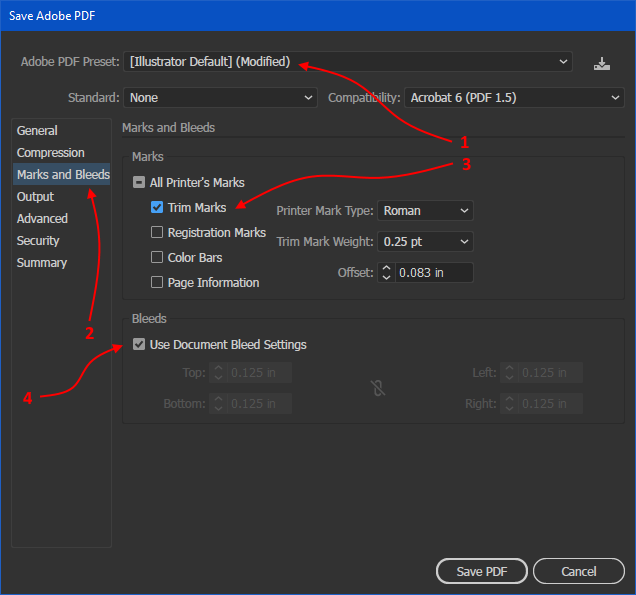
Step 5
The resulting file should be a PDF with properly formatted bleeds. Now is the time to send us the PDF file and we'll look it over for you.
You can use our web-based  or attach it to an email.
If you require additional help with artwork, see our Artwork Guidelines. If you want to know how to set up bleeds using other software, see
our help articles regarding How to Set up Bleeds.
Step 5
The resulting file should be a PDF with properly formatted bleeds. Now is the time to send us the PDF file and we'll look it over for you.
You can use our web-based here or attach it to an email.
If you require additional help with artwork, see our Artwork Guidelines. If you want to know how to set up bleeds using other software, see
our help articles regarding How to Set up Bleeds.